Gaming headsets can be a lot of fun, but they can also get pretty dirty. If you don’t clean them regularly, the dirt and dust can build up and cause problems with the sound quality. In this article, we will discuss how to clean gaming headsets effectively. We will cover common questions such as what materials to use and how often to clean them. So if you want to keep your gaming headset in good condition, keep reading!
Table of Contents
Gaming Headsets
Gaming headsets are headphones that are designed specifically for video gaming. They usually have a microphone attached so that gamers can communicate with each other while playing online. Gaming headsets can be used for other purposes such as listening to music or watching movies, but they are primarily designed for gaming. [3]
In-Ear vs.Over-Ear Headphones
There are two main types of gaming headsets: in-ear and over-ear. In-ear headphones sit inside your ear canal, while over-ear headphones sit on top of your ears.
They also tend to be less expensive. However, they may not be as comfortable to wear for long periods of time and they may not provide as good of sound quality as over-ear headphones.Over-ear headphones are generally more comfortable to wear and they provide better sound quality. However, they are usually larger and more expensive than in-ear headphones.
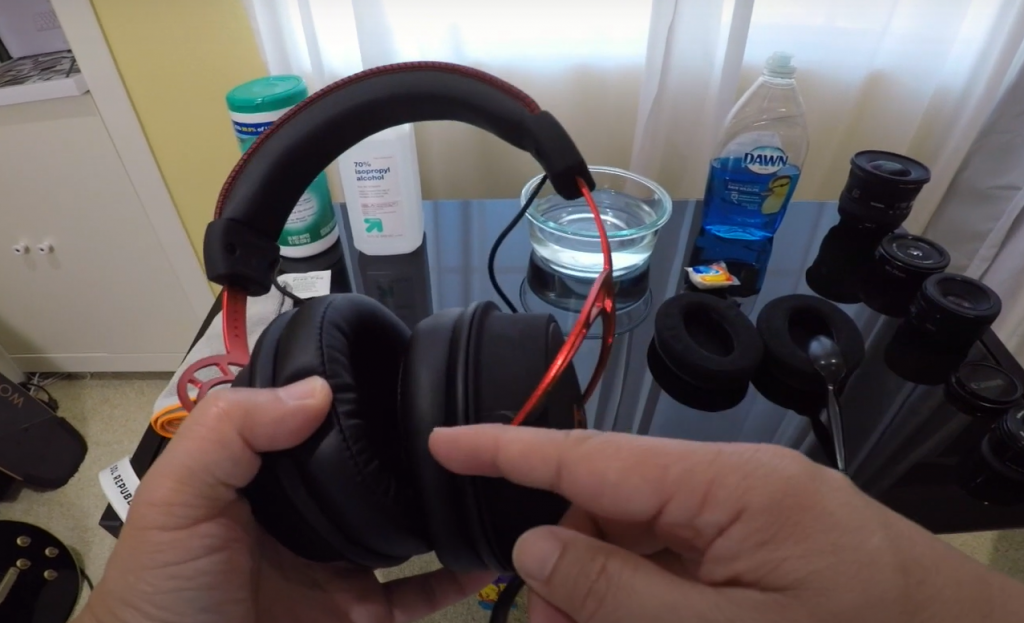
If you’re looking for the best sound quality, we recommend over-ear headphones. However, if you’re looking for a more affordable option or something that is more portable, in-ear headphones may be a better choice. [5]
Why Do We Need To Clean Our Headphones?
Just like any other piece of electronic equipment, gaming headsets can get pretty dirty. The dirt and dust can build up and cause problems with the sound quality.
Items Required To Clean Headphones
Here are some items that you will need to clean your headphones:
- A microfiber cloth
- Isopropyl alcohol (also known as rubbing alcohol)
- Cotton swabs
You may also want to have a soft toothbrush on hand. This can be helpful for getting into tight spaces and removing dirt and dust that is clinging to the headphone.
If you have leather ear pads, you will also need a leather conditioner. This is optional, but it can help keep the leather from drying out and cracking.
Now that we have all of the supplies that we need, let’s get started!
How To Clean Headphones
Cleaning The Ear Tips
The ear tips are the part of the headphone that goes into your ear. They can get pretty dirty, especially if you share your headphones with other people.
Step 1: Start by removing the ear tips from your headphones. If they are not removable, you can skip this step.
Step 2: Next, wet a soft cloth with some water and gently wipe down the ear tips.
Step 3: If they are still dirty, you can try using a mild cleaning solution such as alcohol or vinegar. However, be sure to test the solution on a small area of the ear tip first to make sure it doesn’t damage the material.
Step 4: Once you’ve cleaned the ear tips, dry them with a soft cloth or a hairdryer on the cool setting.
Step 5: Finally, put the ear tips back on your headphones.
How To Clean Over-Ear Headphones
If you have over-ear headphones, the process is a little bit different.
Step 1: Start by removing the ear cups from the headset.
Step 2: Using a soft cloth, gently wipe down the outside of the ear cups. If they’re particularly dirty, you can use a mild cleaning solution such as alcohol or vinegar.
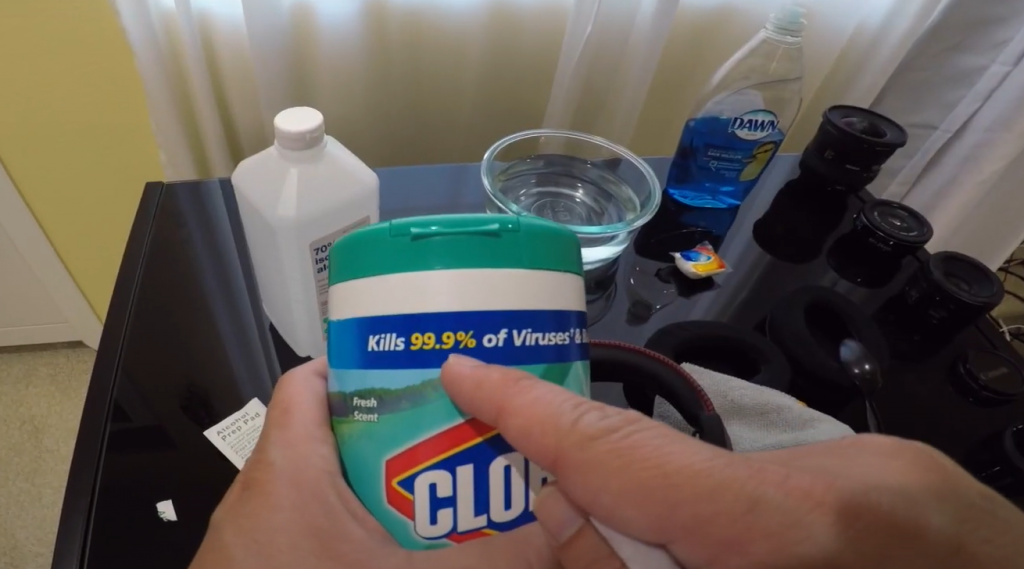
Step 3: Once you’ve cleaned the outside of the ear cups, it’s time to move on to the inside. Using a soft cloth, gently wipe down the inside of the ear cups. Be sure to avoid any electronic parts.
Step 4: Once you’ve cleaned the inside of the ear cups, put them back on the headset and enjoy your clean headphones! [2]
How To Clean In-Ear Headphones
In-ear headphones are a bit trickier to clean than over-ear headphones. This is because the ear tips go directly into your ear and can be difficult to remove.
Step 1: Start by removing the ear tips from the headphones. If they’re made of foam, you can wash them with soap and water.
Step 2: Once you’ve removed the ear tips, use a soft cloth to remove any dirt or dust from the surface of the headphone.
Step 3: If your headphones are particularly dirty, you can use a mild cleaning solution such as alcohol or vinegar. Be sure to test the solution on a small area of the headphone first to make sure it doesn’t damage the material.
Step 4: Once you’ve cleaned the headphones, put the ear tips back on and enjoy your clean headset!
Advanced Cleaning Method
If your headphones are really dirty, you may want to try this advanced cleaning method.
Step 1: Remove the ear cushions. Most gaming headsets have removable ear cushions. This will give you better access to clean the inner parts of the headphone cups.
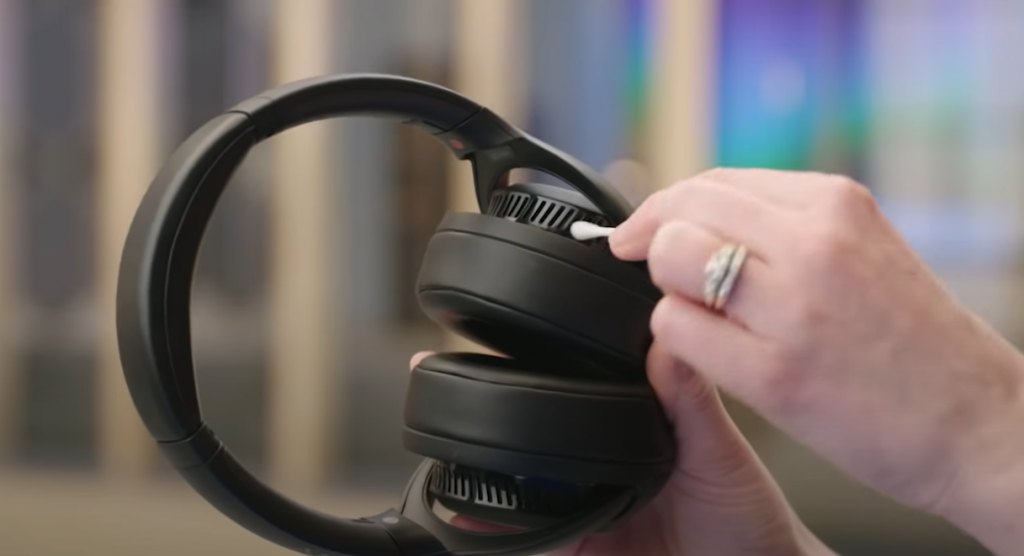
Step 2: Clean the headphone cups with a cotton swab soaked in rubbing alcohol. You can also use a toothbrush to lightly scrub away any dirt or grime build-up.
Step 3: Clean the ear cushions. Use a damp cloth to wipe down the ear cushions. If they’re really dirty, you can machine wash them (if they’re removable).
Step 4: Let everything dry completely before reassembling your headset.
How To Clean Headphone Jacks
Cleaning your headphone jacks is important to ensure optimal audio quality and prolong the lifespan of your headphones. Here are a few simple tips on how to clean them:
- Start by unplugging your headphones from any devices.
- Using a can of compressed air, blow into the jack to remove any dust or debris that may be stuck inside. [1]
- Use a cotton swab or toothpick to remove any remaining dirt from the jack.
- Once you’ve removed all the dirt, blow into the jack again to make sure it’s clean.
- Plug your headphones back in and enjoy!
How To Remove Bad Smell From Headphones
We all know how it feels when we put on a pair of headphones that haven’t been cleaned in a while. They smell old, and the audio quality is terrible. But don’t worry, there are a few things you can do to clean your gaming headset and get rid of that bad smell.
Here are a few tips on how to remove bad smell from headphones:
- Use a cotton swab or toothbrush to remove any dirt or debris from the headphone’s mesh.
- If your headphones are really dirty, you can use a mild soap and water solution to clean them. Just make sure you rinse them thoroughly afterwards.
- Another option is to use rubbing alcohol on a cotton swab to clean the mesh. This will kill any bacteria that might be causing the bad smell.
- Finally, if your headphones still smell bad after all of this, you can try using a small amount of baking soda on the mesh. Just let it sit for a few minutes before brushing it off.
How To Disinfect Gaming Headsets?
Cleaning and disinfecting gaming headsets is important to prevent the spread of germs and bacteria. Here are some tips on how to clean gaming headsets:
- Unplug the headset from any devices.
- Use a soft, dry cloth to remove any dirt or debris from the outside of the headset. Avoid using harsh chemicals or cleaners as they can damage the finish or components.
- If there are visible spots or stains, you can use a cotton swab dipped in rubbing alcohol to gently remove them. Be sure to test on an inconspicuous area first to make sure the alcohol doesn’t damage the finish. [6]
- Once you’ve cleaned the exterior of the headset, it’s time to clean the ear cushions. Remove the ear cushions and wash them with a mild soap and water. Let them air dry completely before putting them back on the headset.
- Finally, disinfect the microphone by wiping it down with a cotton swab dipped in rubbing alcohol.
By following these simple tips, you can easily keep your gaming headset clean and disinfected.
How To Keep Your Earbuds Clean For Longer
Ease of cleaning is one of the top priorities when it comes to choosing the best earbuds. If you’re constantly having to clean your earbuds, they’re not going to last as long. So, how do you keep your earbuds clean for longer?
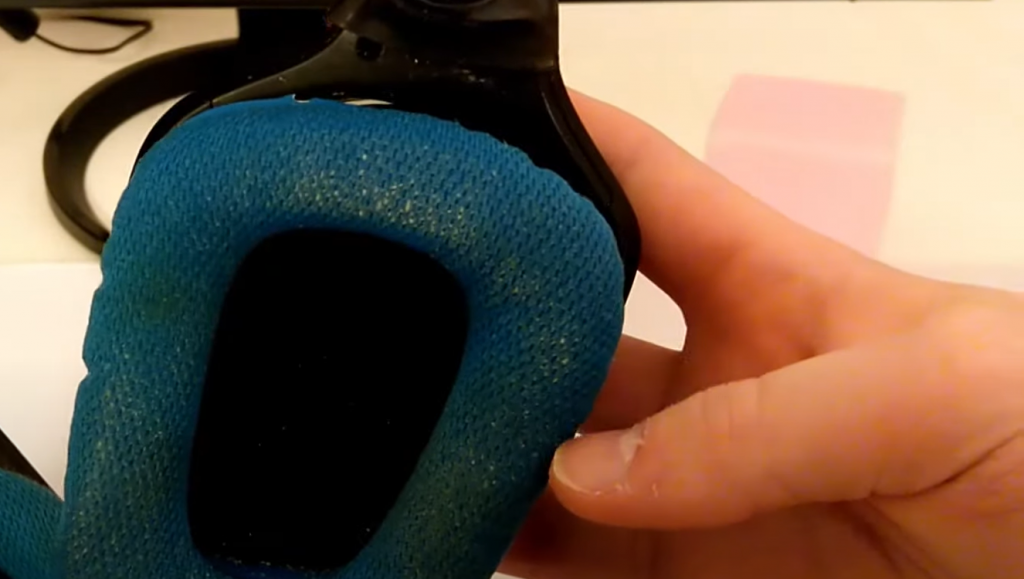
There are a few things you can do:
- Make sure to put them back in the case when you’re not using them. This will help keep dust and dirt out of the crevices.
- Wipe them down with a microfiber cloth after each use. This will remove any sweat or oil that may have accumulated on the surface.
- Use Q-tips dipped in rubbing alcohol to clean the audio jack and the mesh screen on the charging port. This will help prevent build-up of gunk that can cause sound quality issues.
By following these simple tips, you can extend the life of your earbuds and keep them sounding great for longer. [4]
Keeping Your Ears Clean
It’s not just your earbuds that need to be kept clean – your ears do too!
Here are a few tips to keep your ears clean and healthy:
- Wash your hands before touching your ears. This will help prevent the spread of bacteria.
- Use a soft, dry cloth to wipe the outside of your ear. Do not insert anything into your ear canal, as this can damage the delicate tissue.
- If you have excess wax buildup, you can use a cotton swab dipped in baby oil to gently remove it. Or ask your doctor about earwax removal options.
By following these simple tips, you can keep your ears clean and healthy for years to come.
FAQ
Are in-ear headphones the same as earbuds?
In-ear headphones are also known as earbuds, in-ear monitors (IEMs), or canalphones. They are a type of headphone that fits snugly inside your ear canal. Earbuds are the most common type of in-ear headphone and come bundled with many phones and portable music players.
How would I clean the irremovable ear cushions on my earphones?
The best way to clean the ear cushions on your headphones is to use a cotton swab dipped in rubbing alcohol. Gently wipe the cotton swab around the edge of each cushion, taking care not to get the alcohol inside the ear cup itself. You can also use a mild soap and water solution if you prefer. Just be sure to rinse the ear cushions thoroughly afterwards to remove any soap residue.
Can earwax ruin headphones?
Earwax can clog the small openings on your earphones, which can reduce sound quality and cause audio dropouts.
How often should I clean my gaming headset?
It is generally recommended that you clean your gaming headset at least once a month. However, if you live in a dusty environment or use your headset frequently, you may need to clean it more often.
Can I use regular soap and water? How does the earwax come out?
Soap and water can damage the delicate components of your earphones, so it’s best to avoid using them. Instead, use a cotton swab dampened with distilled water to gently wipe away any dirt or debris. If you need to remove earwax, use a soft-bristled brush or a cotton swab dampened with rubbing alcohol. Gently wipe the wax away from the surface of the earphone, taking care not to get any alcohol inside the housing.
Can you use rubbing alcohol to clean earbuds?
Yes, you can use rubbing alcohol to clean earbuds. Rubbing alcohol will remove earwax and kill bacteria. Be sure to use a cotton swab dampened with rubbing alcohol, and avoid getting any alcohol inside the housing.
Useful Video: How to Clean HyperX Ear Pads – Synthetic Leather, Velour Ear Pad Cleaning
Conclusions
So there you have it, our complete guide on how to clean gaming headsets! We hope that this article has been helpful in teaching you the best ways to keep your headset clean and working properly.
Thanks for reading!
References:
- https://www.headphonesty.com/2017/03/how-to-clean-your-headphones-like-a-pro/
- https://steelseries.com/blog/how-clean-headset-185
- https://www.easytechjunkie.com/what-is-a-gaming-headset.htm
- https://www.headphonesty.com/2020/09/how-to-make-your-headphones-last-longer/
- https://www.rollingstone.com/product-recommendations/electronics/on-ear-vs-over-ear-headphones-1026398/
- https://essnashville.com/disinfecting-headsets-best-practices/
- https://www.howtogeek.com/664669/how-to-clean-your-headphones-and-earbuds/



Leave a Reply